Watermarks are essential for protecting copyrighted images, but there may be situations where you need to remove a Shutterstock watermark from an image. Thanks to advancements in technology, AI tools like Outcut have made this process more accessible. In this guide, we will walk you through the steps of how to remove Shutterstock watermark using this AI tool while ensuring the quality of your image and adhering to ethical considerations.
Removing a Shutterstock Watermark Using Outcut AI
Are you looking to enhance the quality of your images? Here are six steps to follow when using Outcut AI:
Step 1: Choose a Reliable AI Tool
As mentioned, Outcut is a recommended AI tool for removing watermarks. It employs advanced algorithms to intelligently fill in the missing areas left by the watermark, resulting in a clean and natural-looking image. Access the tool and get familiar with its features before proceeding.
![]()
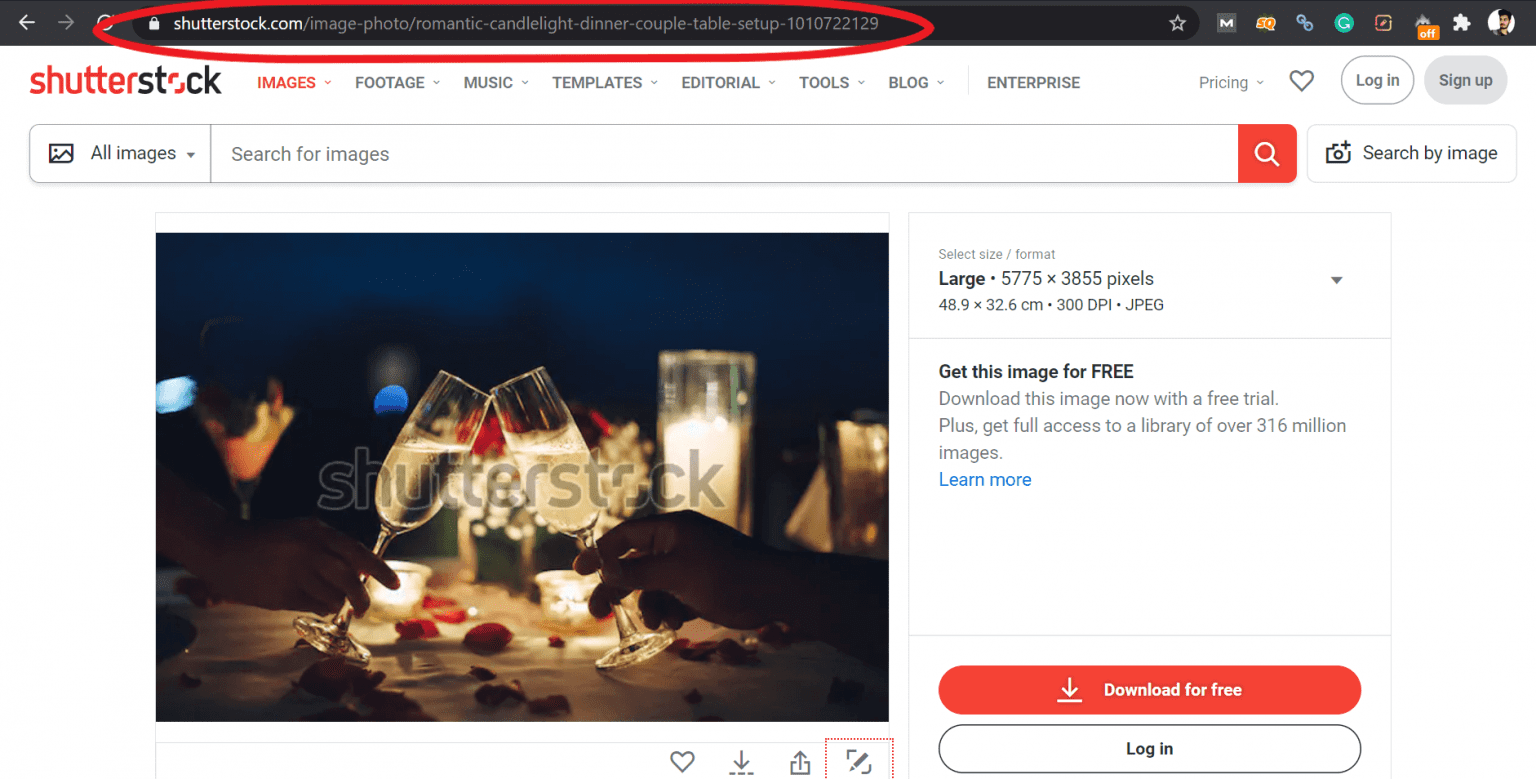
Step 2: Upload the Watermarked Image
Once you are on the AI tool’s website, upload the watermarked image you want to edit. Ensure that the image is of good quality, as this will greatly influence the final outcome. This step may require creating an account on the platform, which is usually a straightforward process.
![]()
Step 3: Select the Watermarked Area
Use the AI tool’s selection or masking tool to outline the area containing the Shutterstock watermark. This helps the AI understand which portion of the image needs correction. Be precise in your selection to achieve the best results.
Step 4: Initiate the AI Process
After selecting the watermark area, activate the AI algorithm. The tool will start analyzing the image and intelligently filling in the missing details based on the surrounding pixels. This process might take a few moments, depending on the complexity of the watermark and the image.
Step 5: Review and Adjustments
Once the AI processing is complete, review the edited image. The AI tool usually provides an option to make manual adjustments if necessary. Inspect the image closely for any artifacts, blurriness, or inconsistencies caused by the removal process. Make use of the available tools to fine-tune the image until you are satisfied with the result.
Step 6: Save and Download
When you are content with the edited image, save and download it to your device. Some AI tools might require you to pay or provide credits for high-resolution downloads, so be prepared for any associated costs.
Ethical Considerations
While AI tools make it easier to remove shutterstock watermarks from images, it’s crucial to consider ethical aspects. Watermarks protect the intellectual property of creators and it’s necessary to remove watermarks from authorized images.. Ensure the images you want to improve their quality are the ones you get authority to do so, or you have created them.
Quality Enhancement Tips
Here are amazing tips to help enhance the quality of your images:
- Image Resolution: Always start with a high-resolution image to maintain quality after watermark removal.
- Subtle Adjustments: Use the AI tool’s adjustments sparingly to avoid unnatural results.
- Compare Original and Edited: Compare the edited image with the original to ensure it looks authentic and seamless.
- Lighting and Shadows: Pay attention to lighting and shadow details to maintain realism.
Sum-ups
Removing a Shutterstock watermark from an image using AI tools, such as Outcut has become more accessible and user-friendly. Following the steps outlined in this guide ensures that you achieve a quality result while being mindful of ethical considerations. Remember, the convenience of AI should always be balanced with respect for intellectual property rights.